Manage your automation workflows. Workflows provide a centralized platform where you can configure all your email automation, eliminating the need to navigate through triggers and segmentation separately.
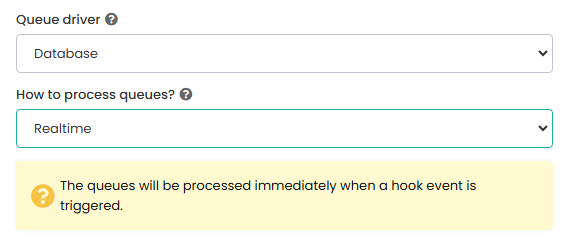
In the Application settings, under the General tab, set the Queue driver to the database. Then, under the Triggers tab, enable Automation Status.
Automation Settings
You will find the Automation settings by navigating the Application settings, and then under the Triggers tab, you will find the following options.
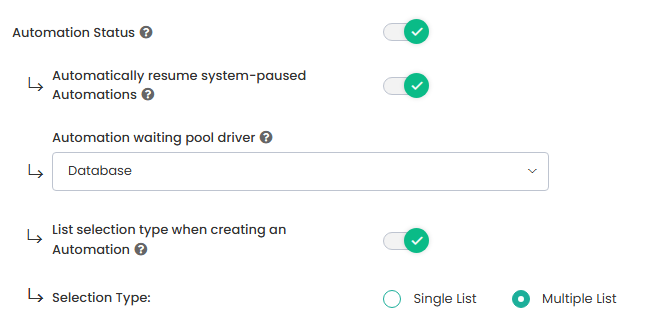
Fields | Description |
Automatically resume system-paused Automations | Automation will be resumed once the linked SMTP with Automation is activated. |
Automation waiting pool driver | Driver that will check the data in the waiting pool table and execute them. Currently, only the Database option is available. |
List type when creating an Automation | Option to select list type when creating an Automation. By default, it is set to a single list. |
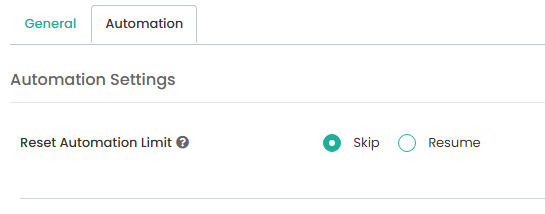
In User settings, we have automation settings that contain
Reset Automation Limit: It will take action on the system-paused Automation which is paused due to limit exceed. We have two options
“Skip” will skip the system-paused automation when the limit is reset
“Resume” It will resume the system-paused automation when the limit is reset
All your Automation is listed on the View Automation page
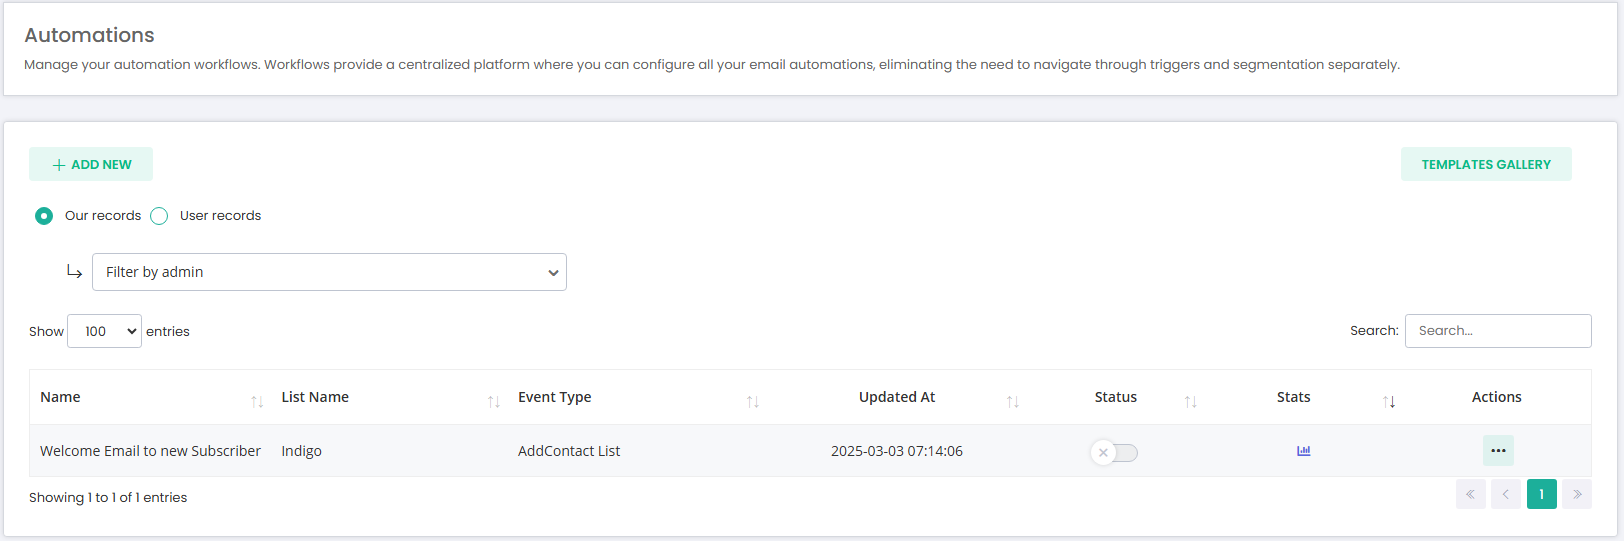
Table Columns
Click on the button Templates Gallery, and it will redirect you to the Automation Templates Gallery page.
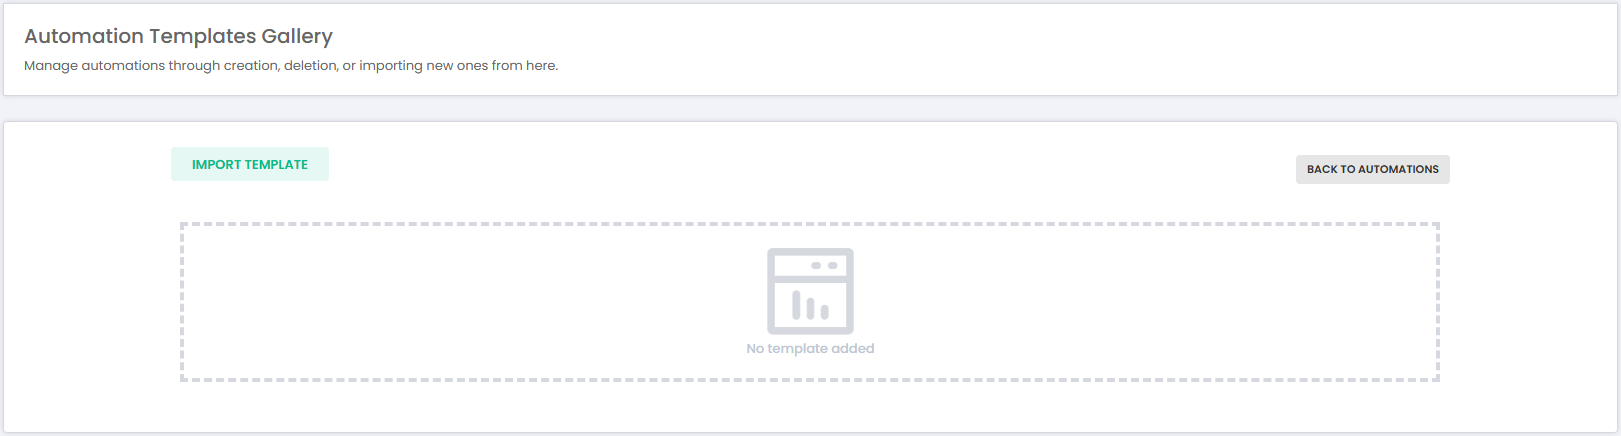
Then click on the Import Template button, and the popup will appear with the option to Upload a Template.
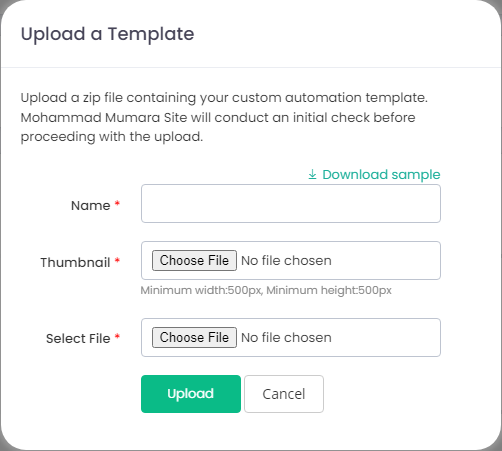
Form Fields | Description |
Name | Set the name of your uploaded Template |
Thumbnail | Upload a thumbnail image for the automation template. |
Select File | Upload a JSON file containing your automation template. |
Note: We have provided a Template sample you can download, the sample, and follow that sample when creating your own JSON template.
Click on the button [+ Add New], and the popup will appear with the Automation title
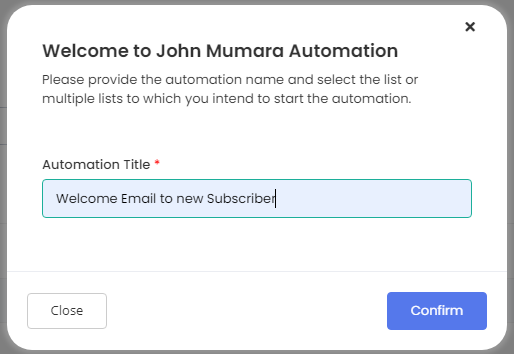
Add the Automation Title and press confirm to navigate to the Automation setup page.
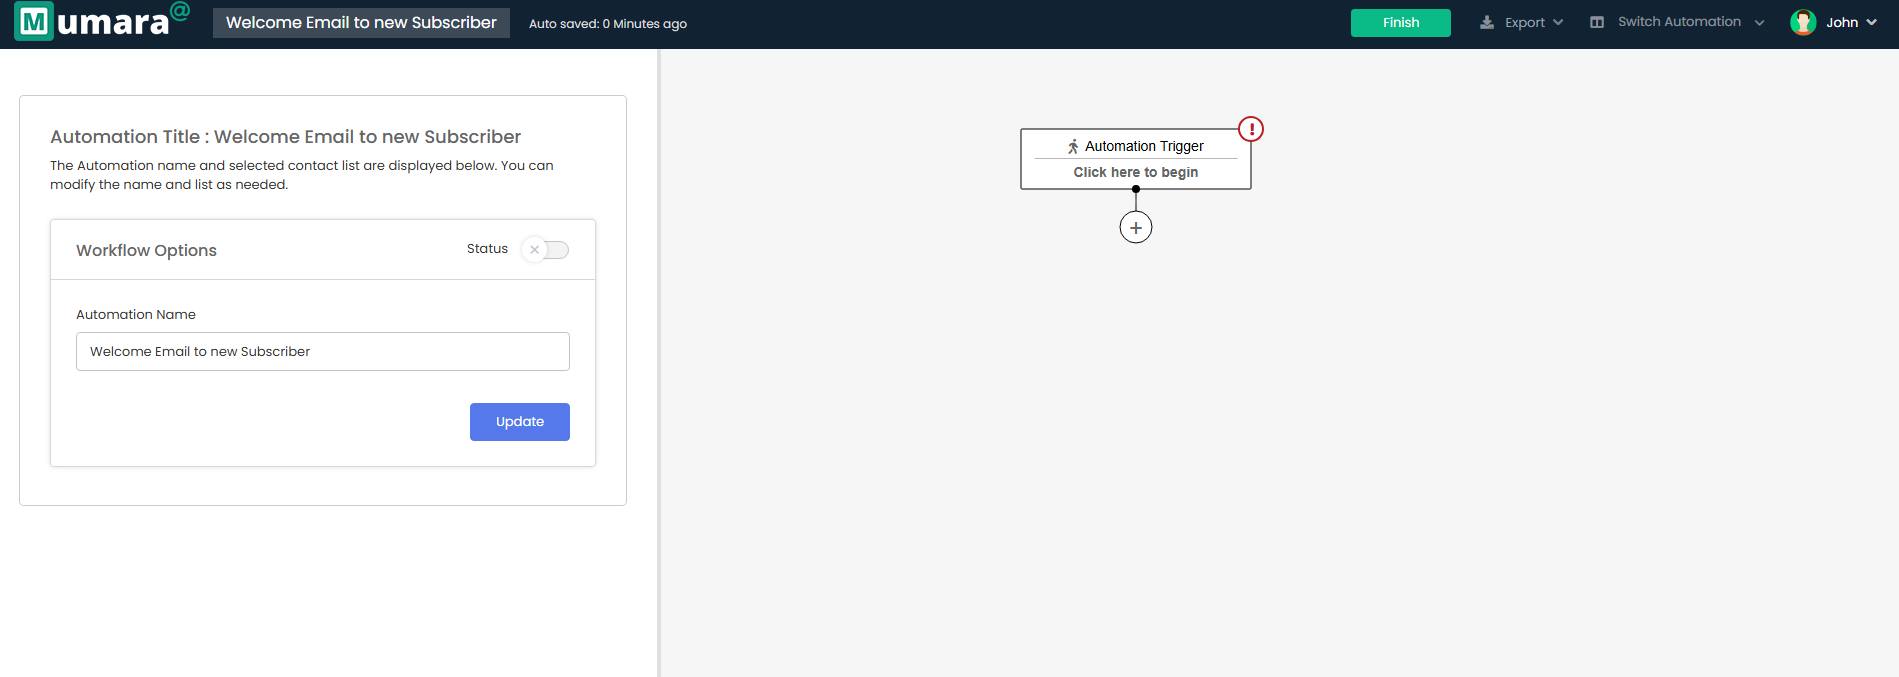
Select an event as the starting point for the automation.
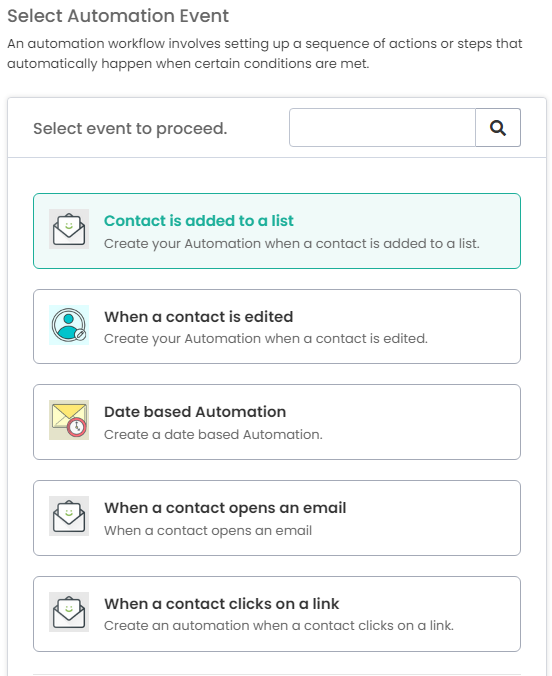
Event | Description |
Contact is added to a list | Create your Automation when a contact is added to a list. |
When a contact is edited | Create your Automation when a contact is edited. |
Date based Automation | Create a date based Automations e.g.
|
When a contact opens an email | Automation will trigger when a contact opens the Campaign |
When a contact clicks on a link | Automation will trigger when a contact clicks the link |
Event: Contact is added to a list
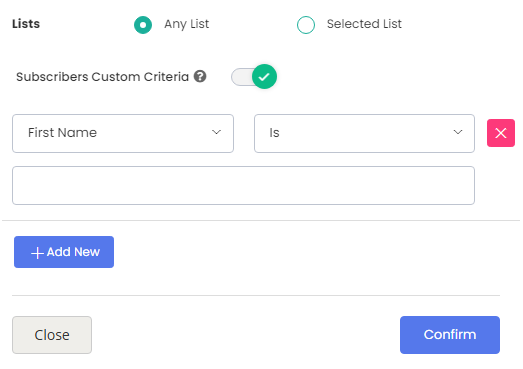
Form Fields | Description |
Lists | Select a List on which you want to set up Automations.
|
Subscribers Custom Criteria | Enabling this option will allow you to add Subscribers Custom Criteria, such as First Name is John or the Last name will be Smith |
Event: When a contact is edited
Form Fields will be the same as above, the event Contact is added to a list.
Event: Date-based Automation
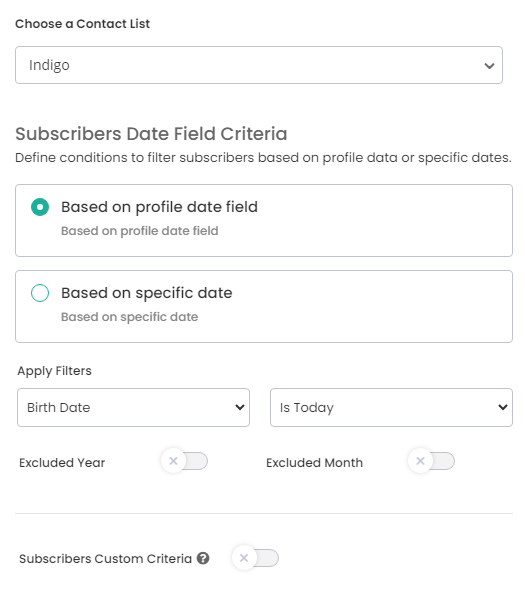
Form Fields | Description |
Choose a Contact List | Select a List on which you want to set up Automations. |
Subscribers Date Fields Criteria | Define conditions to filter subscribers based on profile data or specific dates. |
Based on profile date field | Filter subscribers based on a date stored in a profile field, such as their signup date or birthday. |
Based on specific date | Select a specific date to trigger the automation for subscribers matching this date. |
Subscribers Custom Criteria | Enabling this option will allow you to add Subscribers Custom Criteria, such as First Name is John or the Last name will be Smith |
Excluded Year | If enabled, the system will ignore the year when checking the date. This means the automation will trigger regardless of the year. |
Excluded Month | If enabled, the system will ignore the month when checking the date. This means the automation will trigger regardless of the month. |
Event: When a contact opens an email
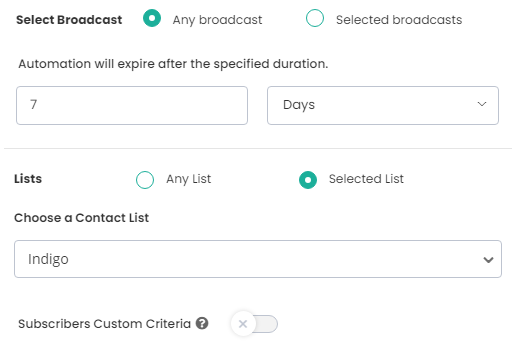
Form Fields | Description |
Select Broadcast | Select a Broadcast on which you want to set up Automations. |
Automation will expire after the specified duration. | After the specified duration, any contact opening an email will no longer be included in the Automations criteria. |
Lists | Select a list to be more specific to the contact on which Automations will trigger. |
Subscribers Custom Criteria | Enabling this option will allow you to add Subscribers Custom Criteria, such as First Name is John or the Last name will be Smith |
Event: When a contact clicks on a link
Form Fields will be the same as above, the event when a contact opens an email.
Move to the next chapter
Automations Actions
This Guide will explain you all the Automations Actions