Mumara gives you full control over the contacts management and flexibility to sort and move contacts between lists. There are certain places in Mumara where you get the options related to contact management.
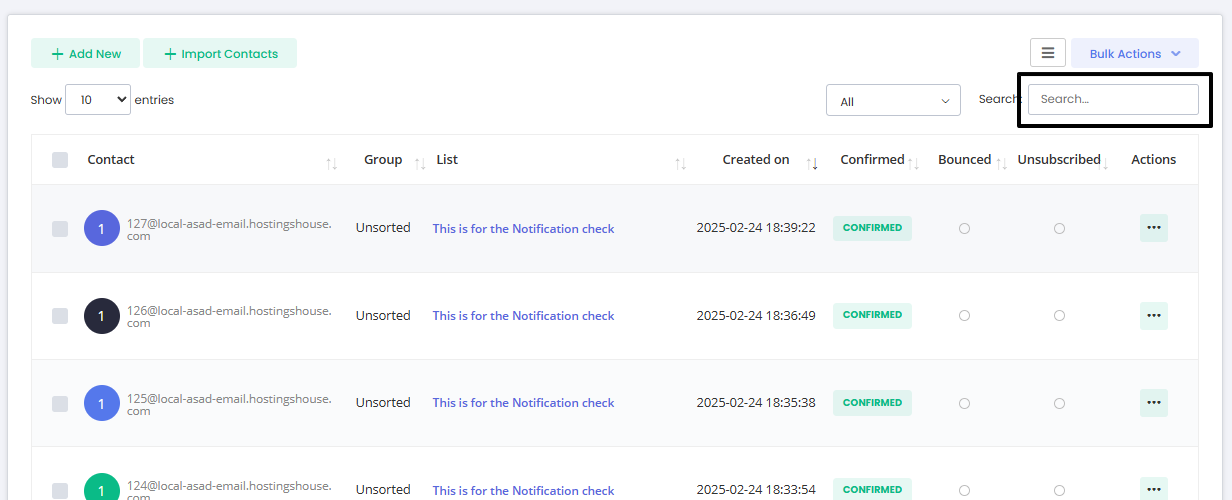
The “View/Search Contacts” section is a central hub for managing your contacts efficiently. This interface allows you to handle your contact lists by providing functionalities such as adding, searching, editing, and organizing your contacts. You can perform actions on individual contacts or bulk actions across your entire database.
To access the contacts management:
Click on the Contacts option in the sidebar menu.
Select View/Search Contacts from the sub-menu.
List-specific Contacts
You can also view the list-specific contacts, and it gives you an additional option to prioritize the table columns.
To access the contacts management:
Click on the Lists option in the sidebar menu.
Select Contact Lists from the sub-menu.
Now click on the Contacts counter for the specific list.
To add a new contact:
Click on the +Add New button at the top of the page.
Select the Contact List.
Fill in the contact details in the provided form as described here.
Save the contact to add it to your contact list.
For importing multiple contacts:
Click on the “+Import Contacts” button.
Select the Contact List.
Follow the instructions to upload your contact list file and map the fields accordingly as described here.
Complete the import process to add the contacts to your selected list.
To search for a specific contact, use the search box to type in the email address or a part of it.
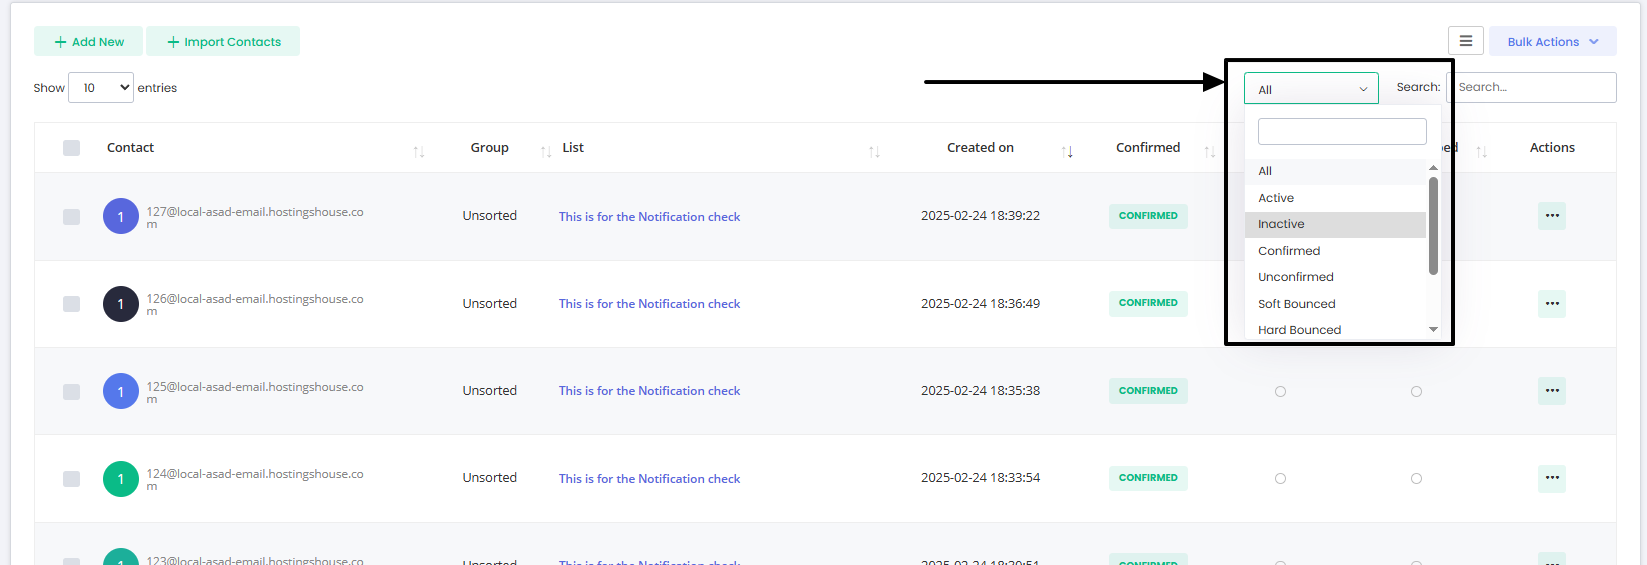
Furthermore, the contacts can be filtered based on the following statuses.
Active
Inactive
Confirmed
Unconfirmed
Soft Bounced
Hard Bounced
Unsubscribed
Suppressed
Spammed
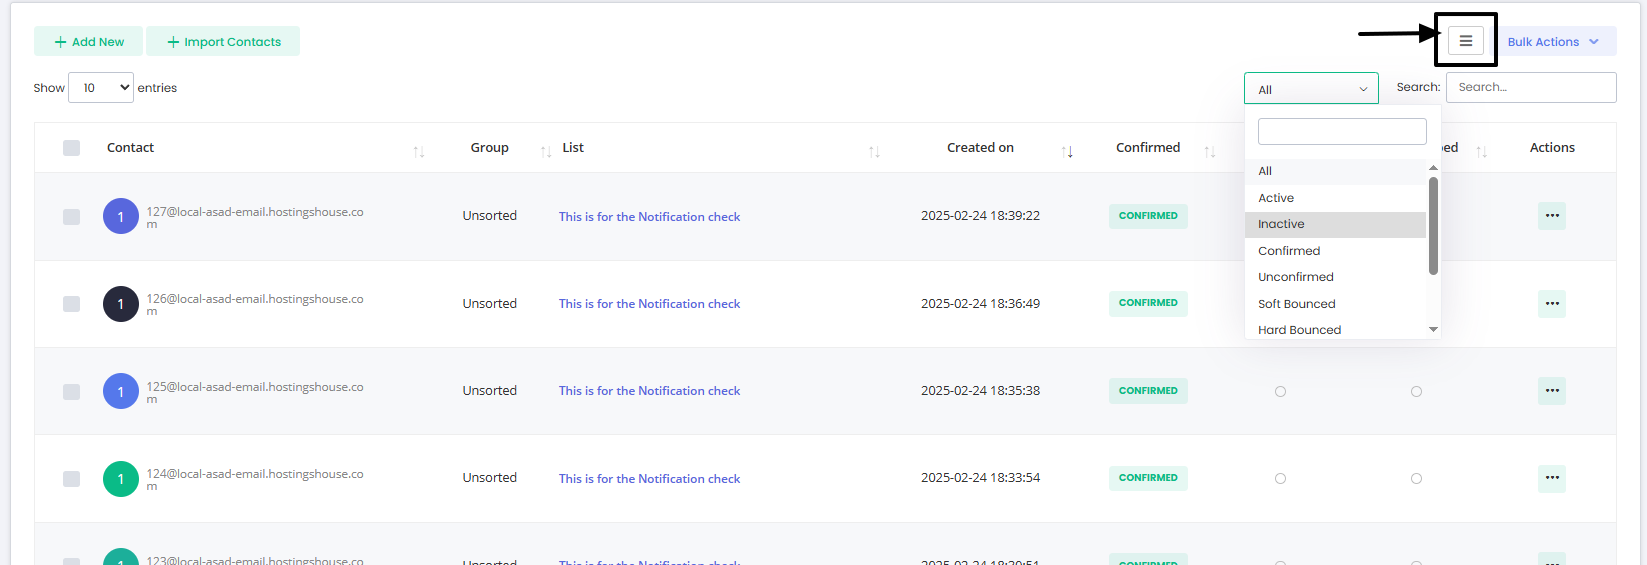
The ability to customize your contact table view through the “Prioritize Columns” function streamlines the management of your contacts by allowing a tailored display that focuses on the most pertinent information for your campaign needs.
Default View
By default, the contacts table is organized to give you a comprehensive overview in a logical sequence:
Contact (includes email address and name)
Group
List
Active
Confirmed
Bounced
Created On
Actions
Click on the column settings icon beside the “Bulk Actions” button.
Use the checklist to select which columns you want to display. The email column is fixed and always visible, ensuring you have the key contact information at a glance.
Utilize the drag-and-drop feature to order the columns according to your priorities. This way, you control the flow of information as it appears on your screen.
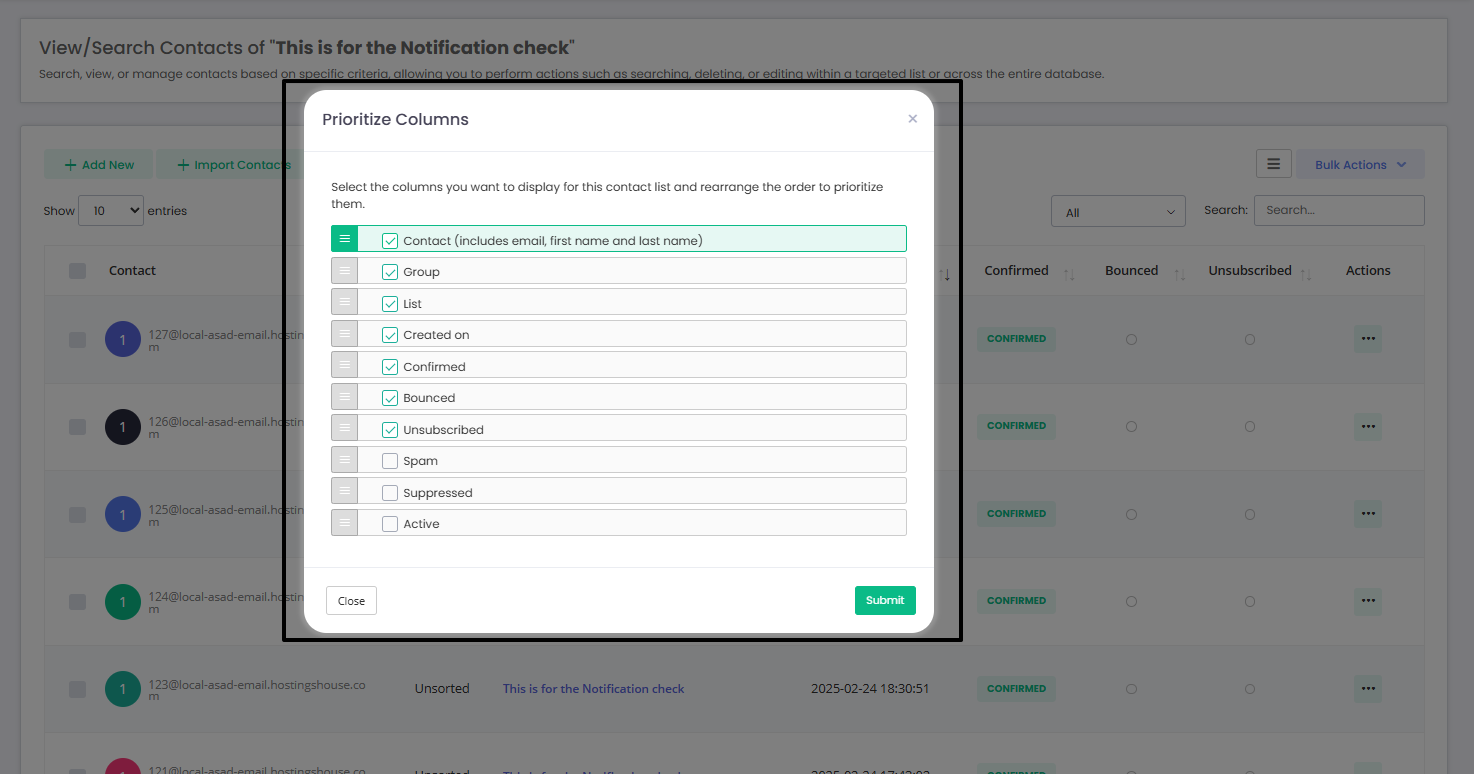
Click the Submit button and enjoy the new view.


It is a powerful way to manage multiple contacts at once. These actions facilitate efficient operations on a large scale, saving you valuable time and ensuring consistency across your contact lists.
In the “View/Search Contacts” section, select the contacts you wish to manage by ticking the checkboxes next to their names.
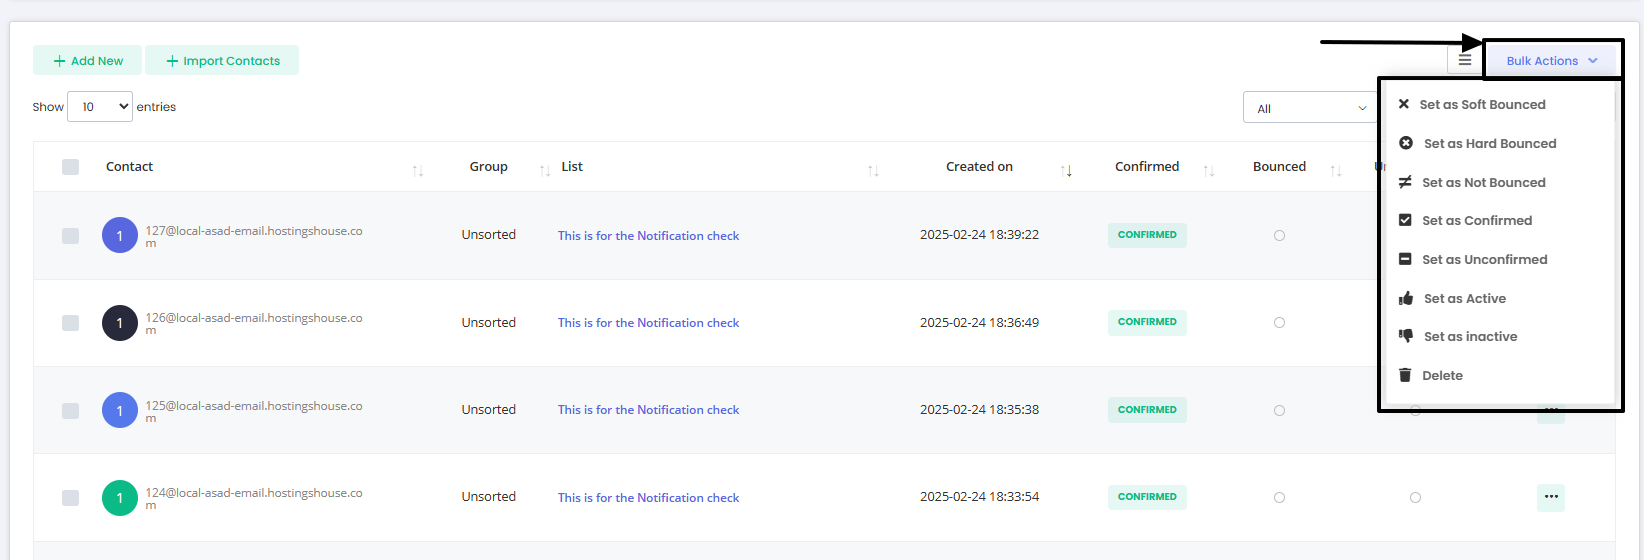
Click the “Bulk Actions” dropdown menu, which is located above the contacts table on the right-hand side.
Select an action to perform.
The Bulk Actions menu provides several options for mass management, including but not limited to:
Set as Soft Bounced: Flag the contacts as soft bounced
Set as Hard Bounced: Flag the contacts as hard bounced so they don’t receive any further emails.
Set as Not Bounced: Counteract any bounce statuses previously set if the issue has been resolved.
Mark Confirmed/Unconfirmed: Update the confirmation status of your contacts en masse, which is vital for adhering to consent-based marketing practices.
Set as Active/Inactive: Quickly change the activity status of selected contacts, allowing you to target or exclude them from campaigns accordingly.
Delete: Remove multiple contacts from your list in one action, streamlining list hygiene and management.

The “Actions’ menu for individual contacts in Mumara Campaigns is designed to provide you with direct control over each entry in your list. This menu facilitates specific, contact-oriented operations, allowing for detailed management.
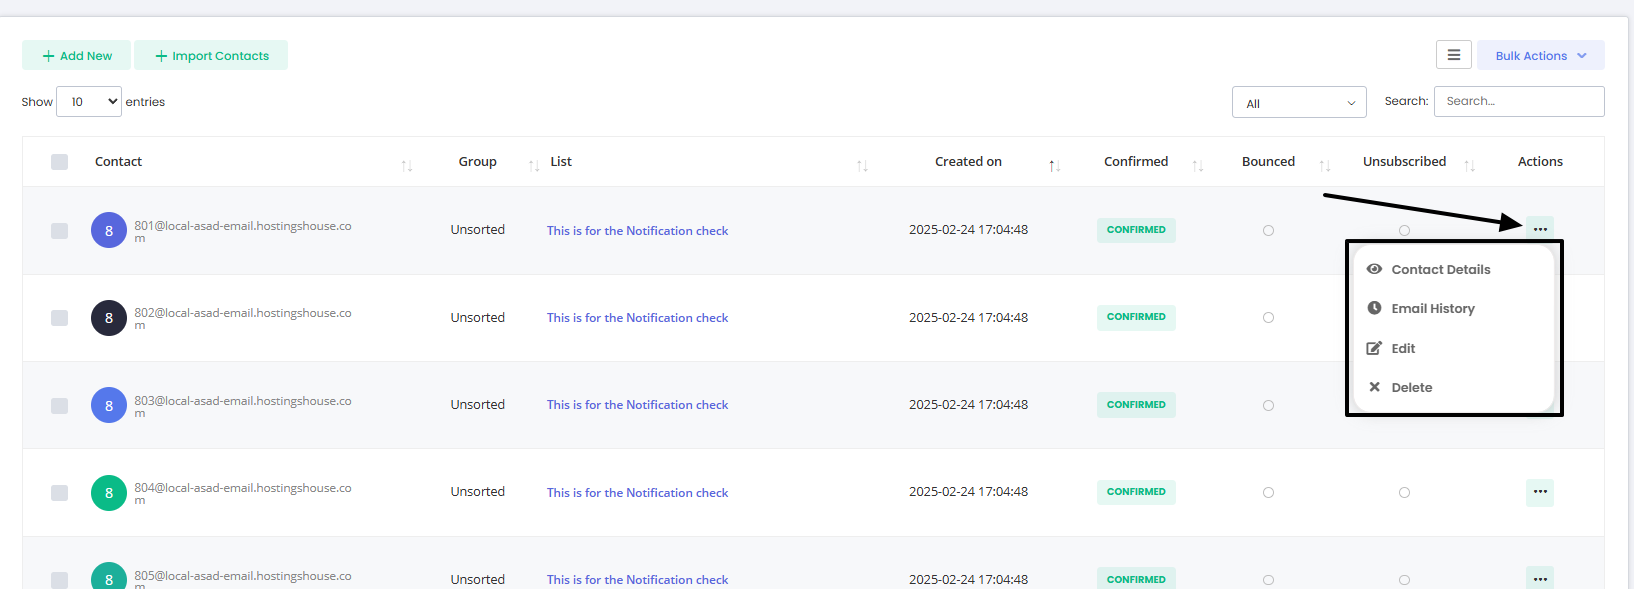
The Actions dropdown provides the following options:
Contact Details: View full details of the contact’s profile, including any custom fields and additional information you have stored.
Email History: Access a log of all emails sent to this recipient. This history is crucial for gauging engagement and troubleshooting issues.
Edit: Modify the contact’s information. This is useful for updating details, adding notes, or correcting any errors in the contact’s record.
Delete: Remove the contact from your list. Use this function with caution, as it will permanently delete the contact’s data from your list.