With Custom Fields, you can easily create and assign custom fields to the email lists, enabling them to store and use this additional data for better segmentation and personalization.
Custom fields provide an effective solution for businesses to store and manage additional data for their leads and contacts. Whether it’s personal information such as their first and last name or professional details like their company or country, custom fields offer a flexible and customizable way to store this information. By utilizing custom fields, businesses can easily keep track of their leads and contacts, enabling them to tailor their marketing efforts and provide a more personalized experience for their audience. Additionally, having this data readily available can make it easier for businesses to follow up with their leads and contacts, fostering stronger relationships and driving better results.
Menu Navigation: Lists - Custom Fields
To simplify the process of creating custom fields, Mumara offers a range of predefined optional custom fields that are commonly used by businesses. These predefined custom fields are categorized as additional fields and include a variety of options to choose from. By utilizing these predefined custom fields, businesses can save time and effort in creating custom fields from scratch, while still being able to capture the relevant data they need to effectively personalize their email campaigns.
Below you can find the pre-defined fields.
Field Name | Type | Description |
Title | Textbox | Title of the contact (e.g., Doctor, Engr, Mr., Mrs., etc.) |
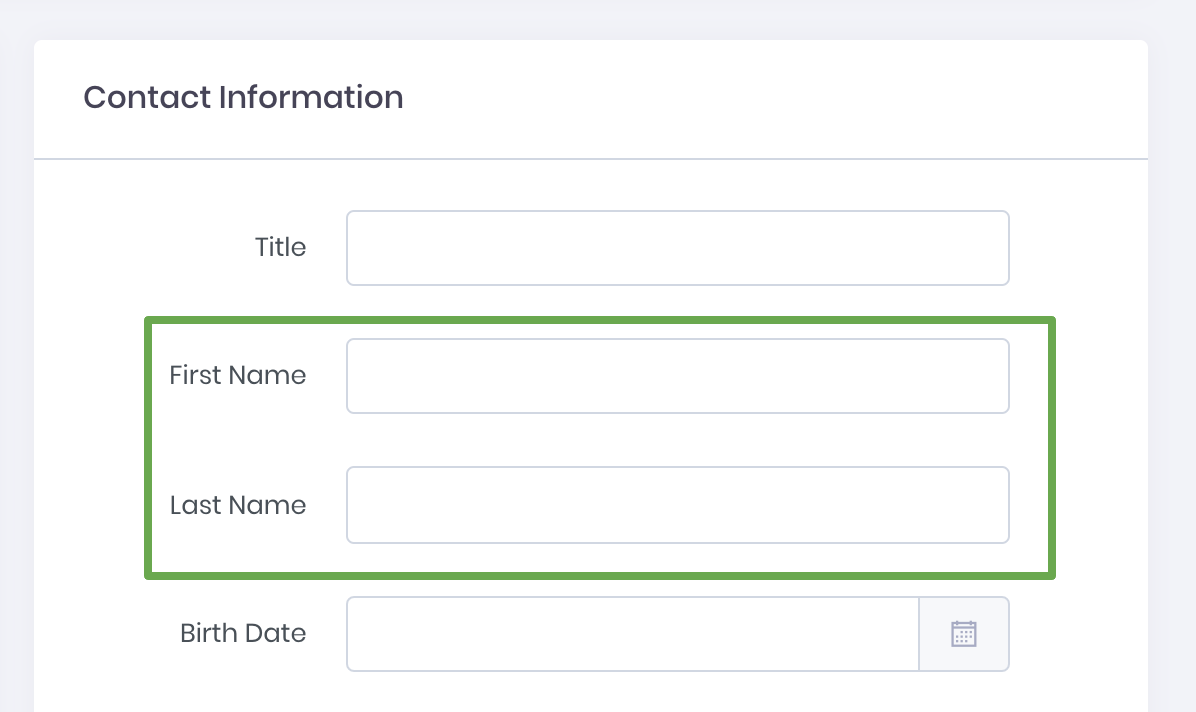
First Name | Textbox | First name of the contact |
Last Name | Textbox | Last name of the contact |
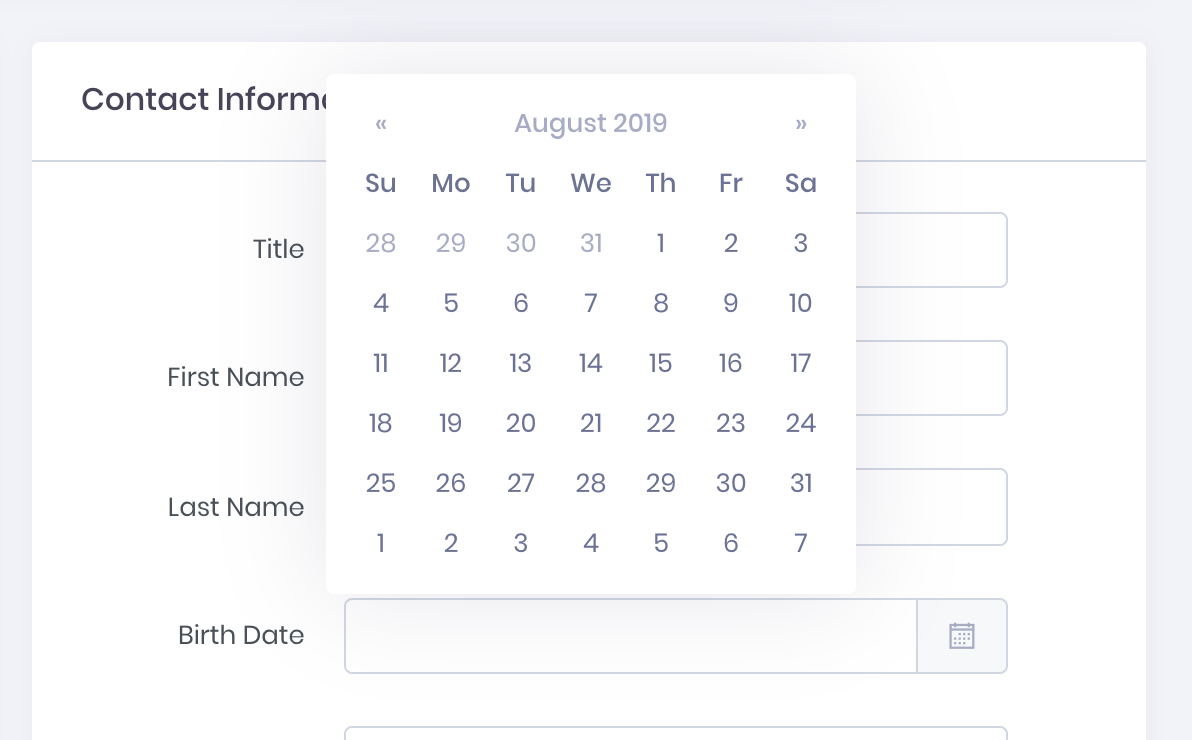
Birth Date | Date | Accepts only date values |
Phone | Textbox | Allows text input, as phone numbers may contain spaces or hyphens |
Mobile | Textbox | Mobile number of the contact |
Company | Textbox | Company name of the contact |
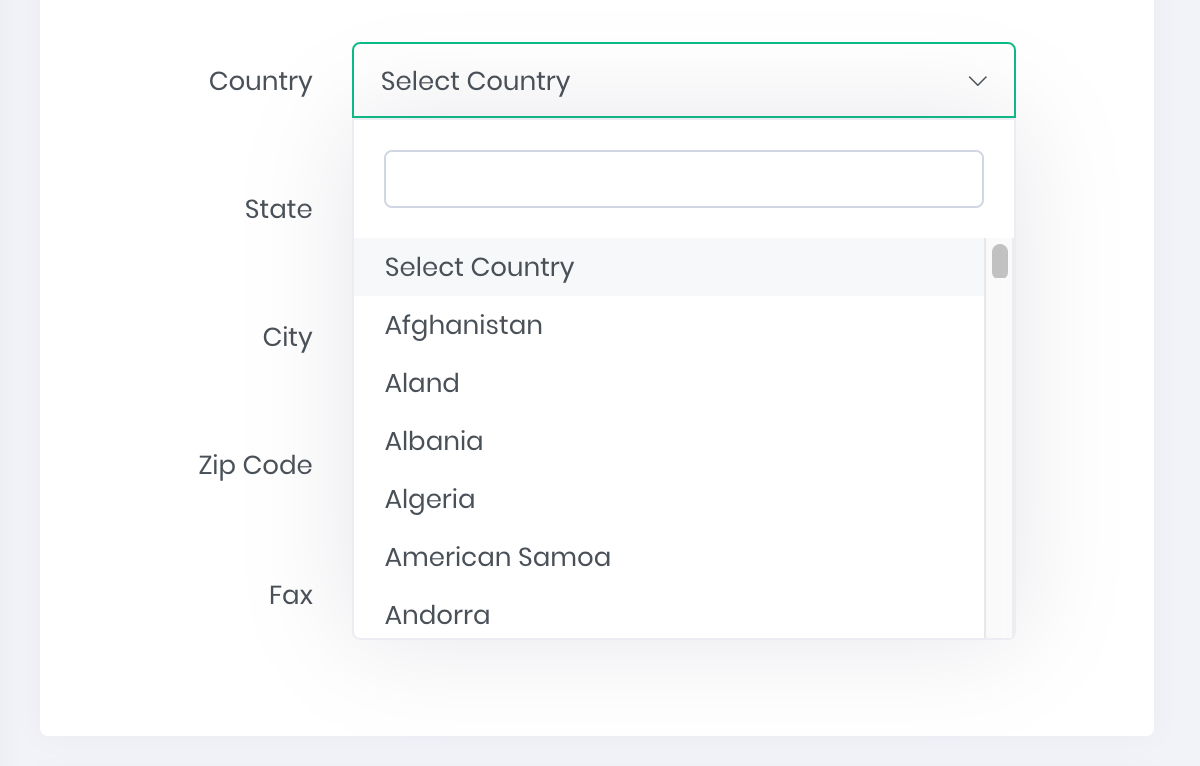
Country | Dropdown | Select the country of the contact from a dropdown list |
State | Textbox | State of the contact's country |
City | Textbox | City of the contact |
Zip Code | Textbox | Zip code of the contact |
Fax | Textbox | Fax number of the contact |
This page will display all the custom fields and their status.
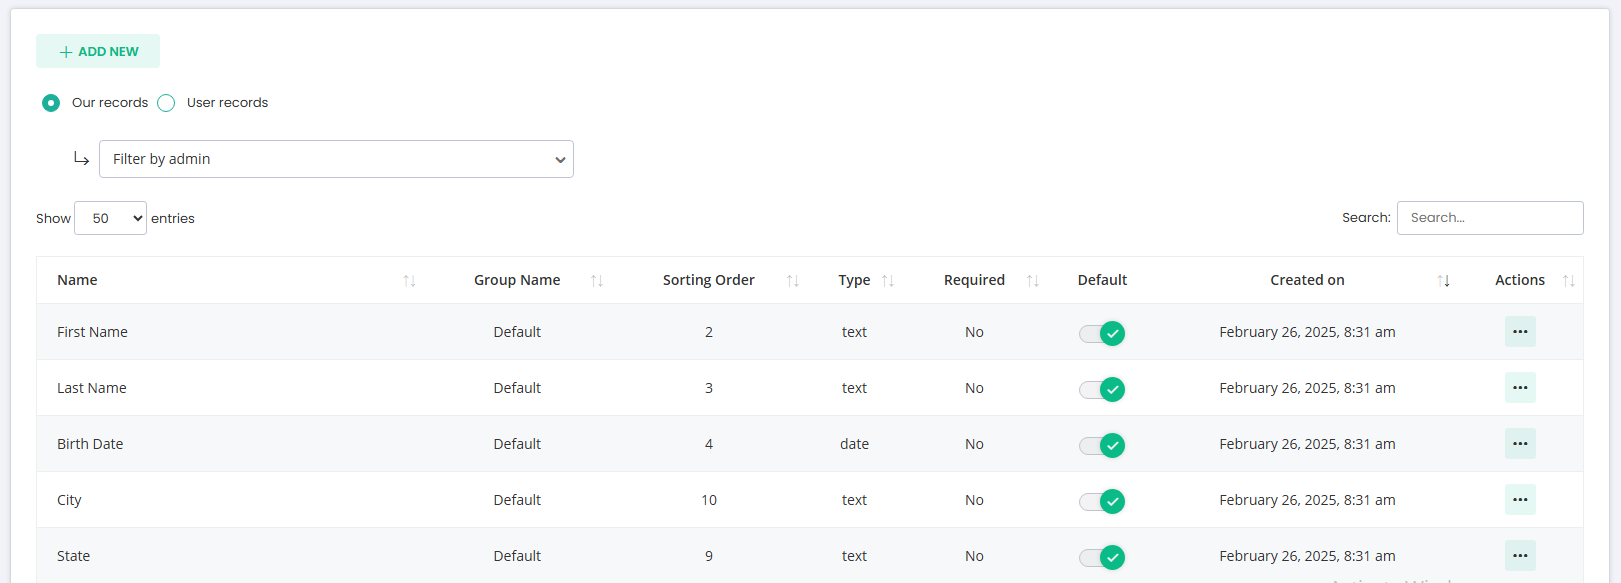
Table Columns
Column Name | Description |
Name | Name of Custom fields. |
Group Name | The name of the group under which your custom fields will be categorized. |
Sorting order | This is the order in which the custom fields will appear on the Add a Contact page |
Type | This refers to the type of field, such as a text field, a checkbox, a dropdown, etc. |
Required | If required is set to Yes, then this field will be required when adding a contact, and if No, then this field will be optional. |
Default | Enabling this option will make your custom fields default, which means they will appear for all users. |
Created on | The date when the custom fields are created. |
Actions |
|
To create a new custom field and assign it to your desired contact lists, simply click the [+Add New] button on the custom fields page. This will take you to the custom field form, where you can easily create a new field and select the contact lists you wish to assign it to. This streamlined process makes it easy to manage your custom fields and keep your contact data organized.
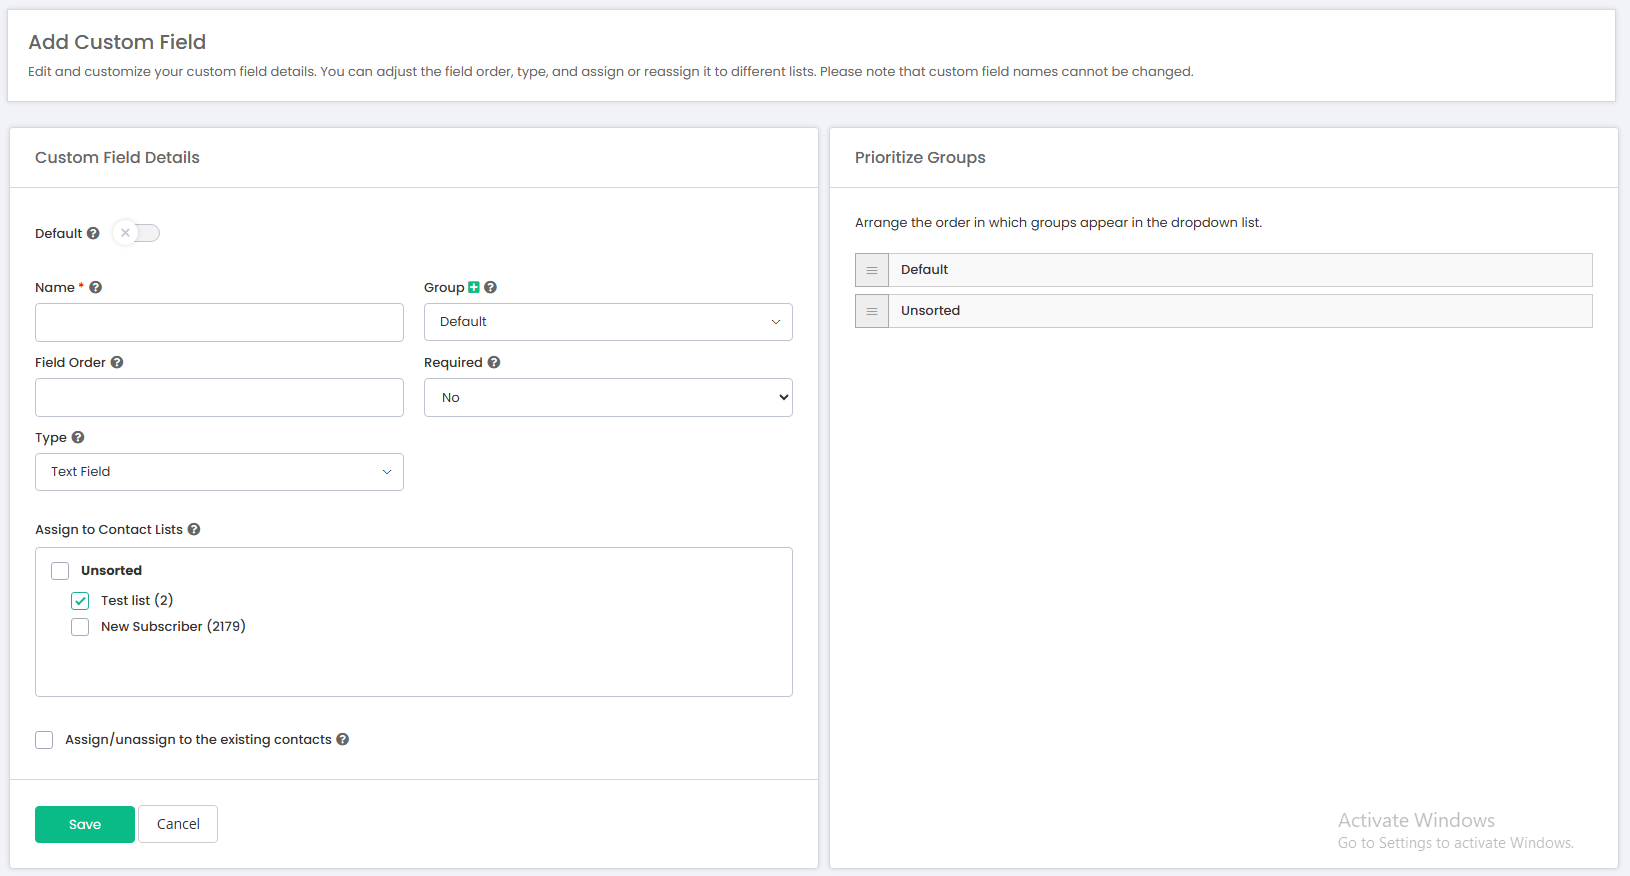
Name: This refers to the name of the custom field.
Group: It's the group to which you have categorized the custom fields
Field Order: This specifies the position or order in which the field appears on the contact creation page.
Required: This option is used to make custom fields required or not on adding a contact page.
Type: This refers to the type of field, which can be a text field, a multiline text field, checkboxes, a dropdown, radio options, a date field, or a JSON field.
Multiline Text Field: This appears as a textarea and can be used to store multi-line information, such as an address.
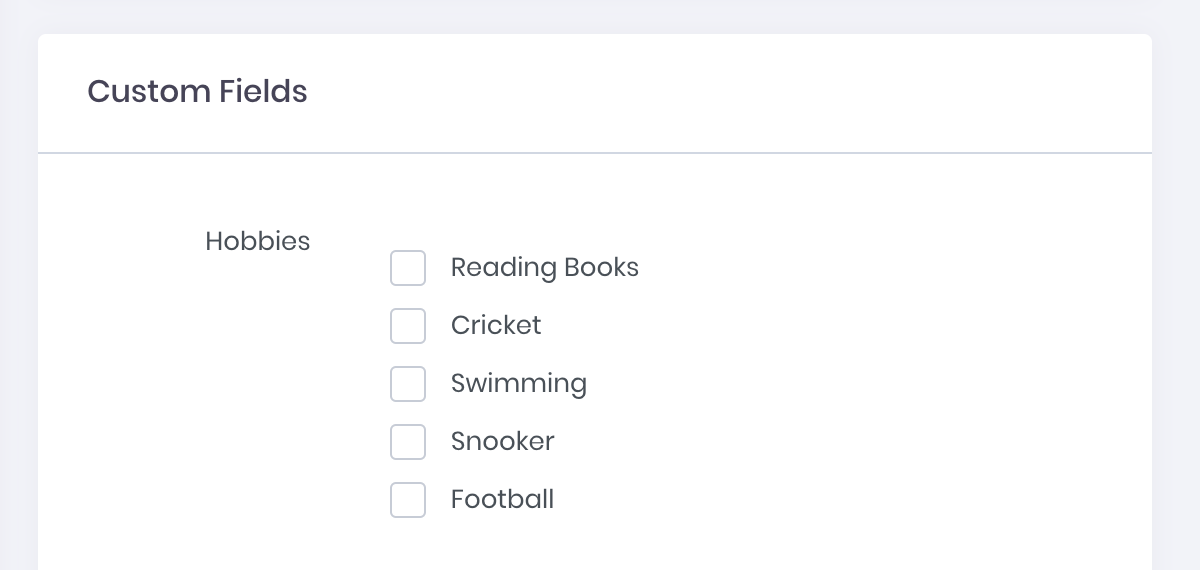
Checkboxes: This creates checkboxes with values that are defined and separated by a newline.
Dropdown: This creates a dropdown menu with values that are inputted.
Radio Options: This creates radio options with values that appear while adding a contact to a specified list.
Date Field: This adds a date picker field and accepts date entries, such as birthdays or due dates.
JSON Field: This adds a textbox that supports decodable JSON strings, which can be useful when creating segments based on multiple filters within a single string.
List of Values: This appears when checkboxes, dropdowns, or radio options have been chosen and refers to the values that can be selected on the add/edit contact page.
Required: This determines if the field is mandatory when adding a contact to an associated list.
Assign to Contact Lists: This allows you to assign the custom field to specific contact lists. However, you can also assign the field to a list while adding or editing the list.
Prioritize Groups: Arrange the order in which groups appear in the dropdown list.
If you check this checkbox, it will update all contacts and add or remove the affected field’s data, which can be useful for segmentation purposes. If you are assigning a custom field, blank data for all pre-existing contacts will be added for all contacts within the selected lists. If you are unassigning a custom field, the associated data will be removed for the affected contacts.
Save & Add New: Save the current record and stay on the same page to add another.
Save & Exit: Save the current record and navigate to the custom fields page.
Cancel: Cancel the operation and go back to the custom fields page.
Custom fields can be assigned at two places.
When adding/editing a custom field
When adding/editing a contact list
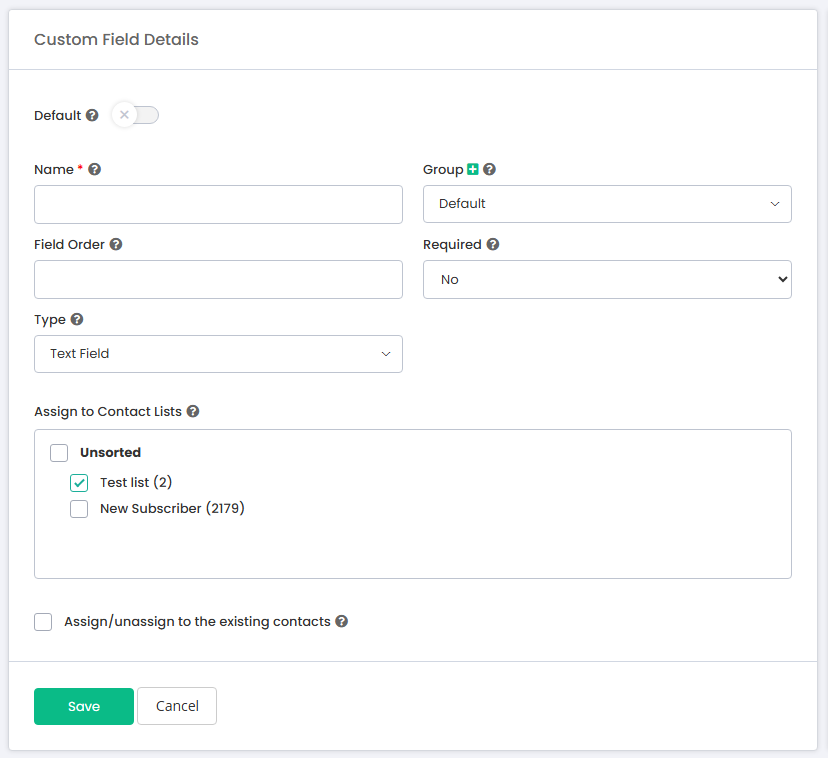
When creating or editing a custom field in Mumara, you can assign it to multiple contact lists of your choice. Simply select the relevant checkboxes on the custom field form to specify where the field should be applied. Once assigned, the custom field will be available for use when adding or importing contacts to your selected lists, providing a streamlined and organized way to manage your data.
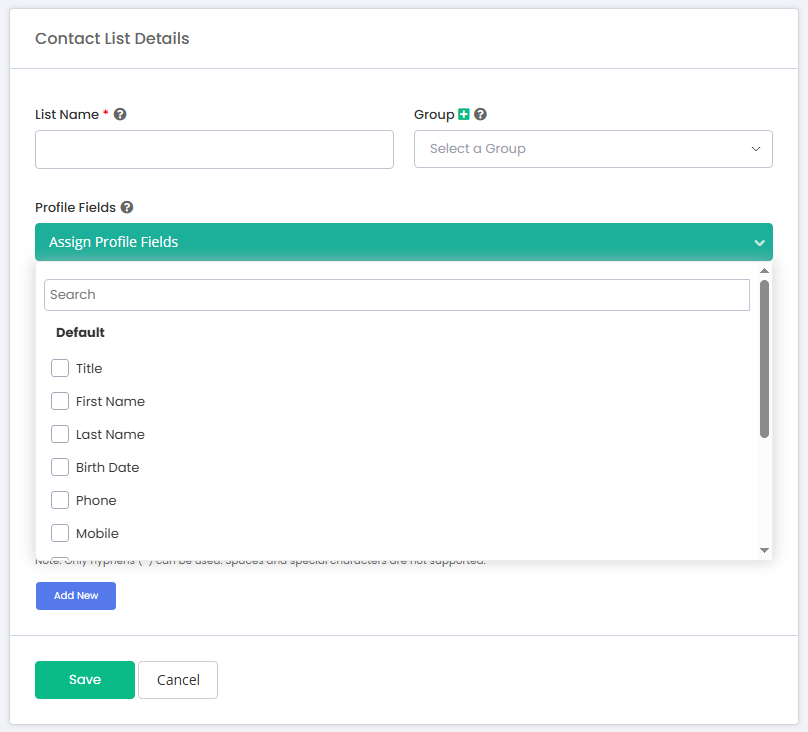
When creating or editing a contact list, you have the option to select which custom fields should be assigned to the list. Once the custom fields have been assigned, they will be available when adding, editing, or importing contacts for that particular list. This ensures that you can easily collect and store the necessary information for each contact, making it easier to personalize your email campaigns and improve engagement with your audience.
Text Field
Date Field
Checkboxes
Dropdown
Radio Options
